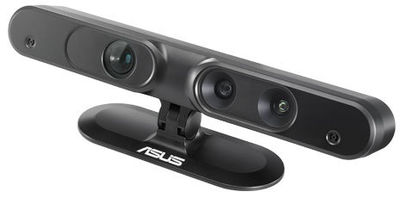
Asus
From youBot wiki
Revision as of 13:56, 19 December 2014 by Florek-jasinska (Talk | contribs) (Created page with "== Asus == 400px *Interface: USB 2.0 === Mounting the sensor on the youBot === The sensor comes without holes. Therefore you should drill...")
Contents
Asus
- Interface: USB 2.0
Mounting the sensor on the youBot
The sensor comes without holes. Therefore you should drill two and here is how:
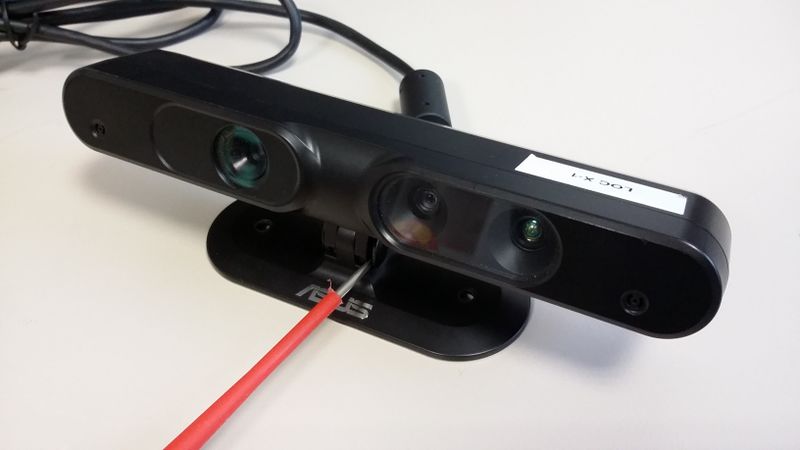
- Tilt the sensor backwards and with a tip of flat-blade screwdriver remove the right cover of the sensor.
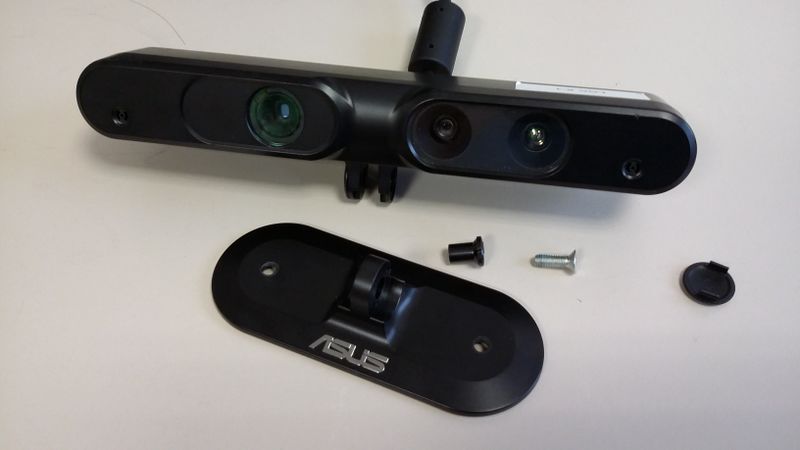
- Remove the screw holding the sensor and its base together. It should look like that.
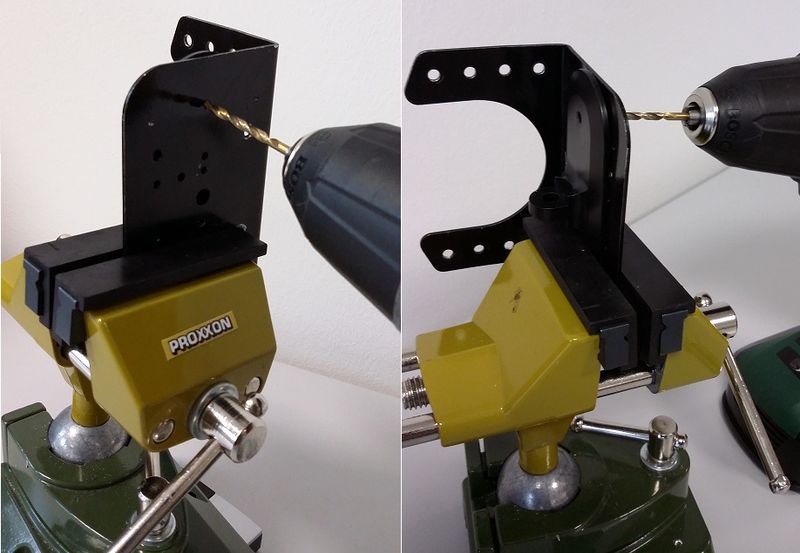
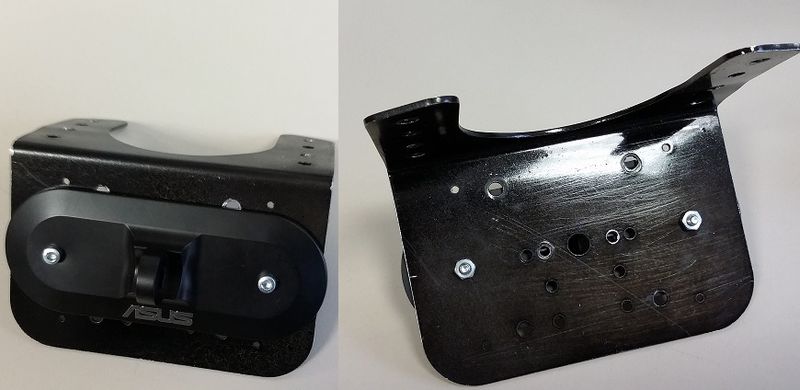
- Align the sensor base in the middle of the sensor carrier and place the two parts in a bench mount to hold them firmly together. Using the outer holes of the sensor carrier as driver and a 3 mm drill bit, drill one hole through the asus base and the sensor carrier. Repeat for the other side. (The distance between the holes is 66 mm)
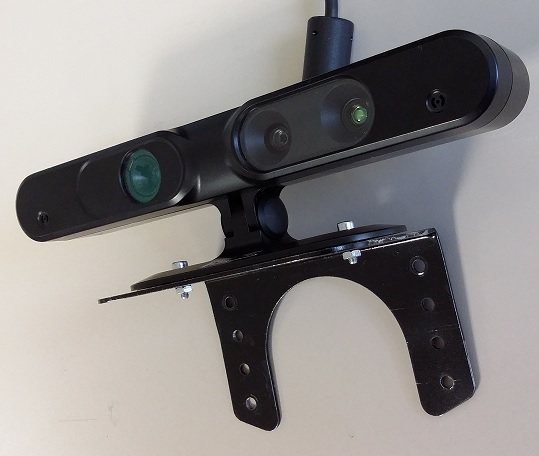
- By using two M3x10 screws mount the base on the sensor carrier as shown below.
- Finally, insert back in place the screw from step 1 and you are done.
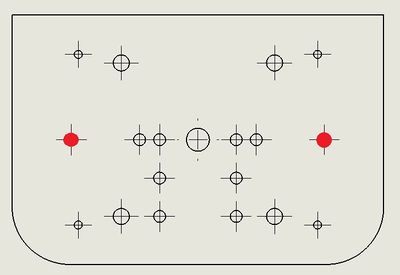
Holes used
To mount the sensor on the sensor carrier, use
- 2 x M3 length 10
and the holes shown below.
Powering the sensor
To power the sensor, plug the USB cable at one of the available USB ports.
