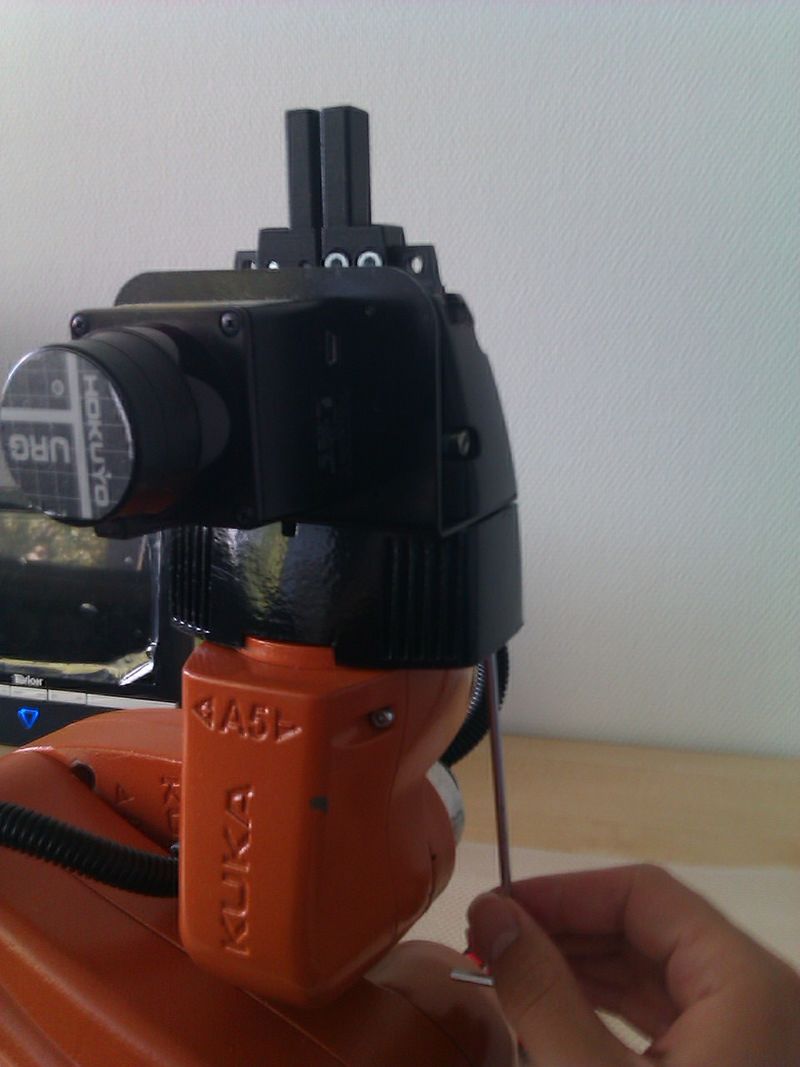
Unmounting the default gripper
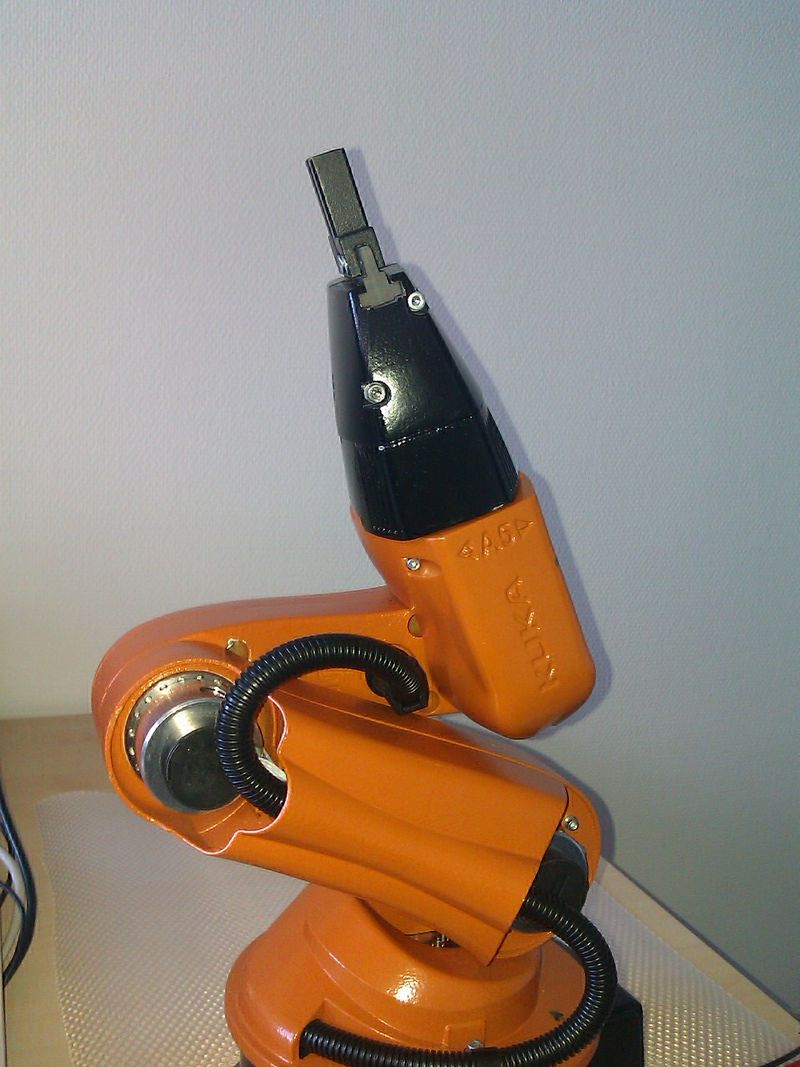
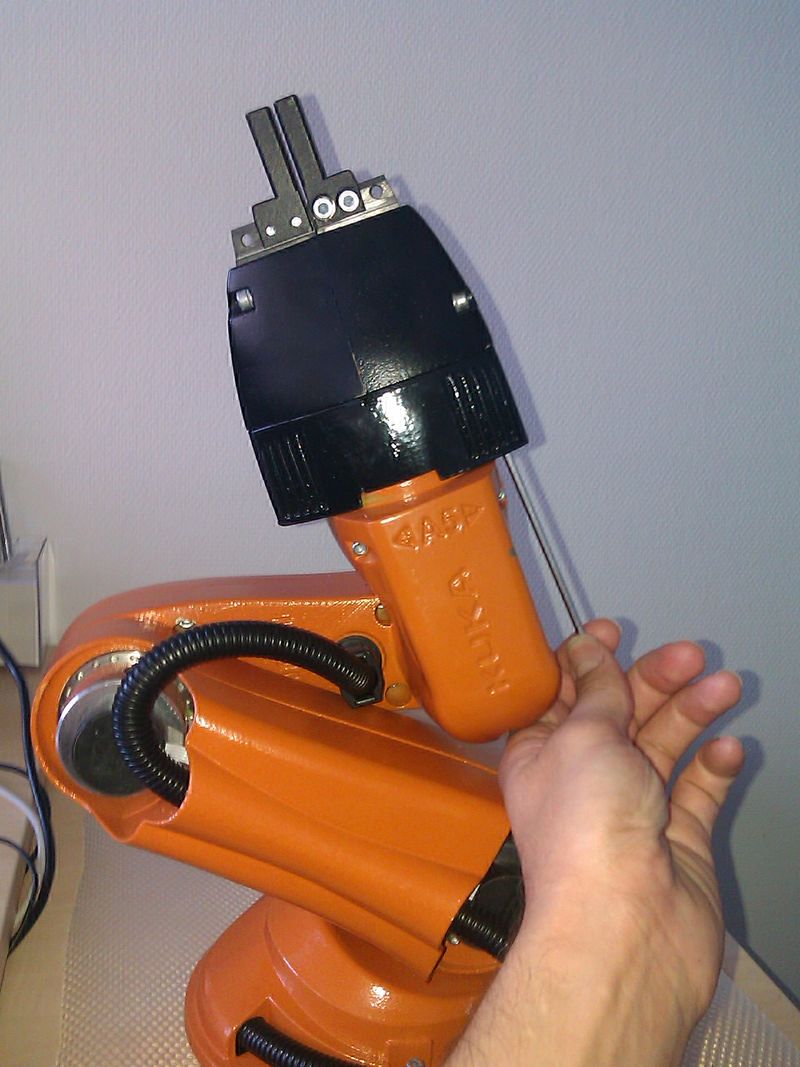
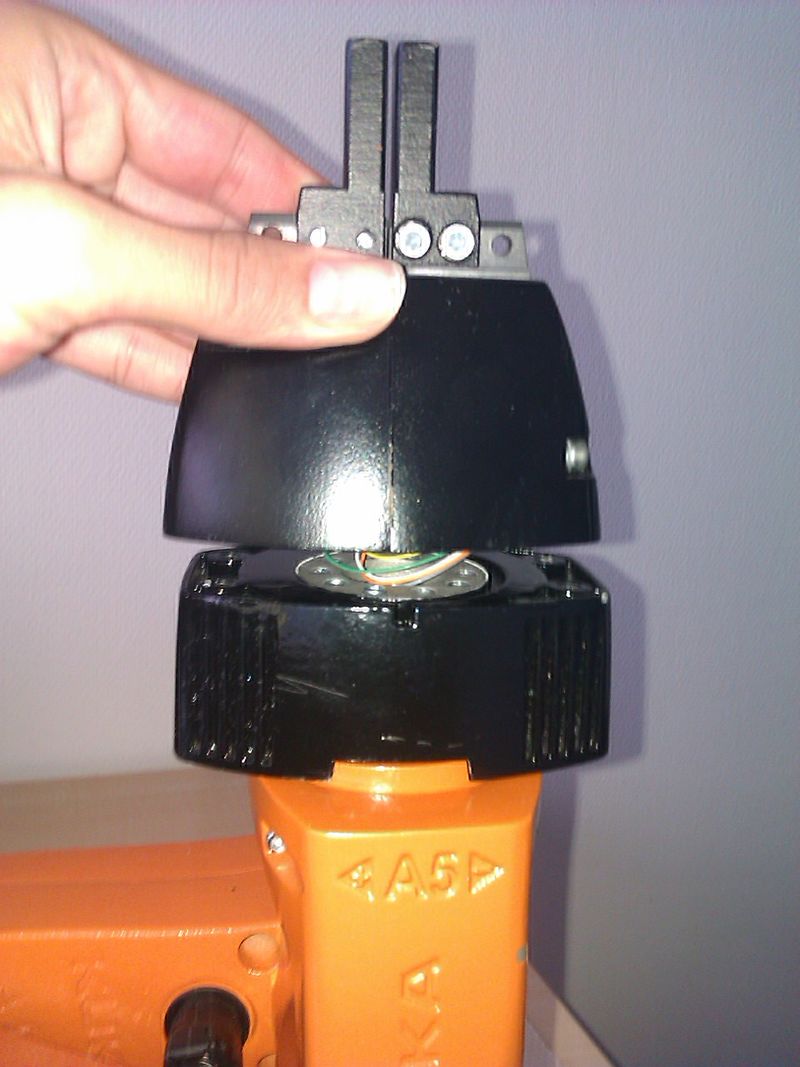
Before dismounting the default gripper be sure, that the power of the robot is turned OFF. Than rotate the 5th joint, so that you can get at the screws with an Allen wrench. Remove the four screws and hold the gripper (otherwise it could fall down).
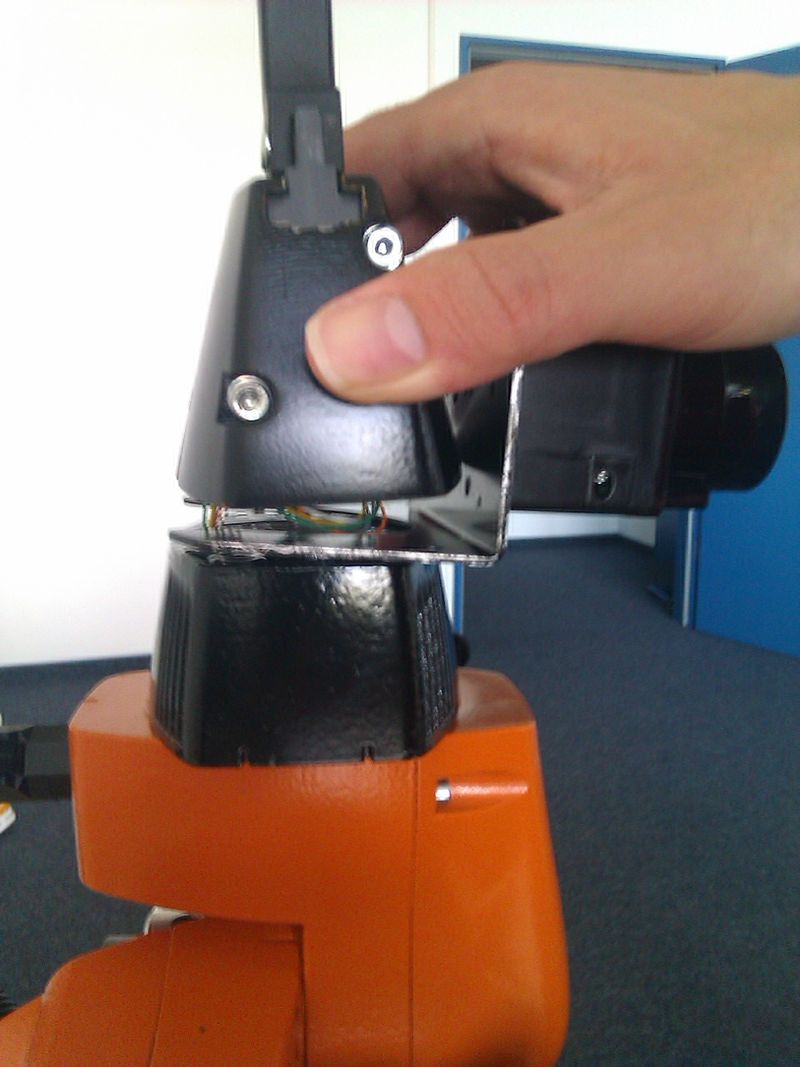
Now lift the gripper carefully and take care of the cables, which are still connected with the gripper. Mount the sensor carrier between the gripper and the flange. You should also take care of the cables.
Put the gripper back and bolt the screws. You should not tighten the screws, before all of them t into
their thread. First bolt the head of each screw, so that you are able to move the gripper, but it can not
fall down.
Note 1: If you have the new universal sensor carrier, which is thicker (3mm) you need to replace the existing screws with 4 x M4 Length 35 mm, otherwise you won't be able to put the gripper back in place.
Note 2: It is easier to mount the gripper, if you bolt the rest two screws on different sides.
