Mounting Universal Sensor Carrier
The Universal Sensor Carrier, which can be purchased from our store, can be mounted:
The Universal Sensor Carrier can hold the following sensors :
- Hokuyo URG-04LX-UG01 Laser Scanner
- AVT Guppy
- VIDERE STOC
- Point Grey Bumblebee 2 Stereo Camera
- Microsoft Kinect
- Mesa Imaging SwissRanger SR4000
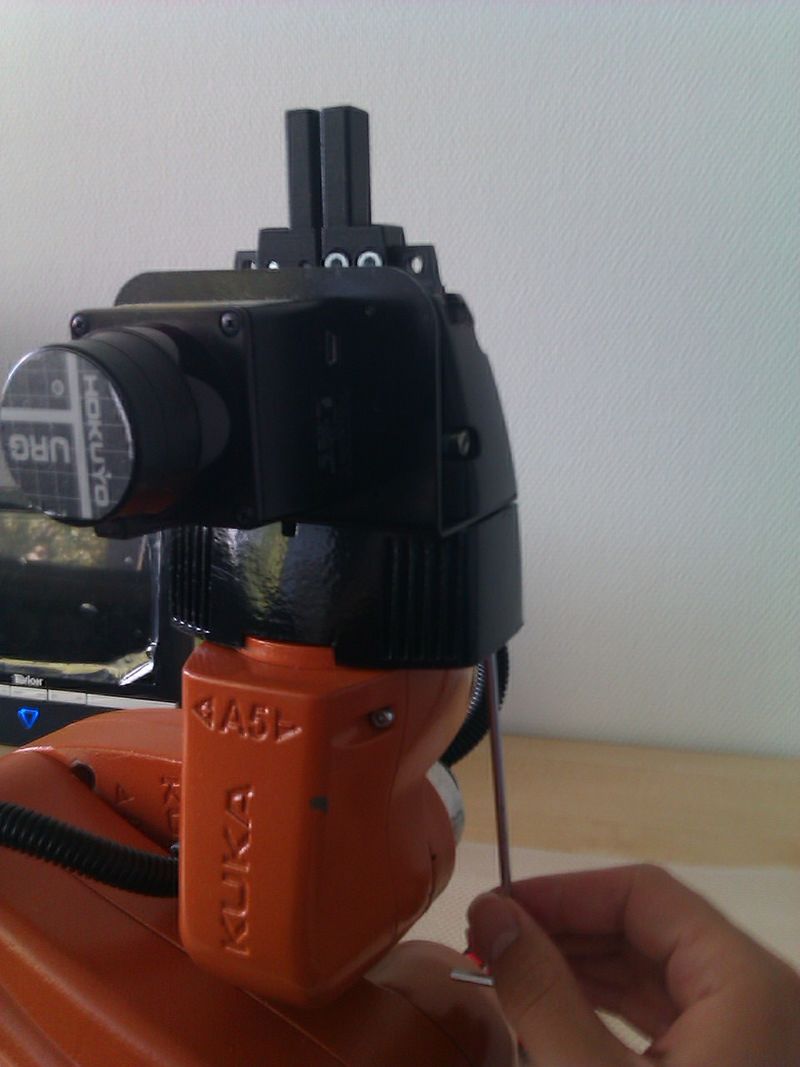
Mounting on the arm
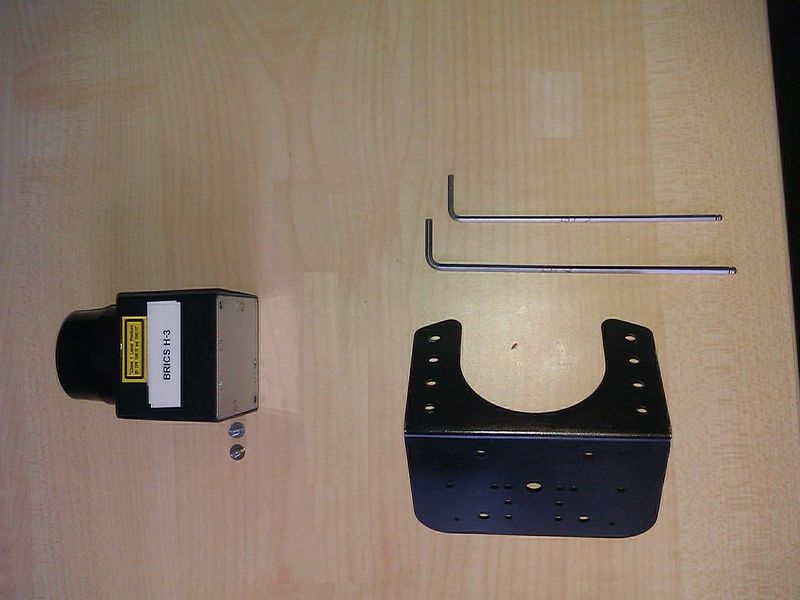
For mounting on the arm follow these steps. First of all you need following components:
- the sensor carrier
- any sensor of your choice, which ts to the sensor carrier (optional)
- screws for the sensor and tools (not part of our shipping)
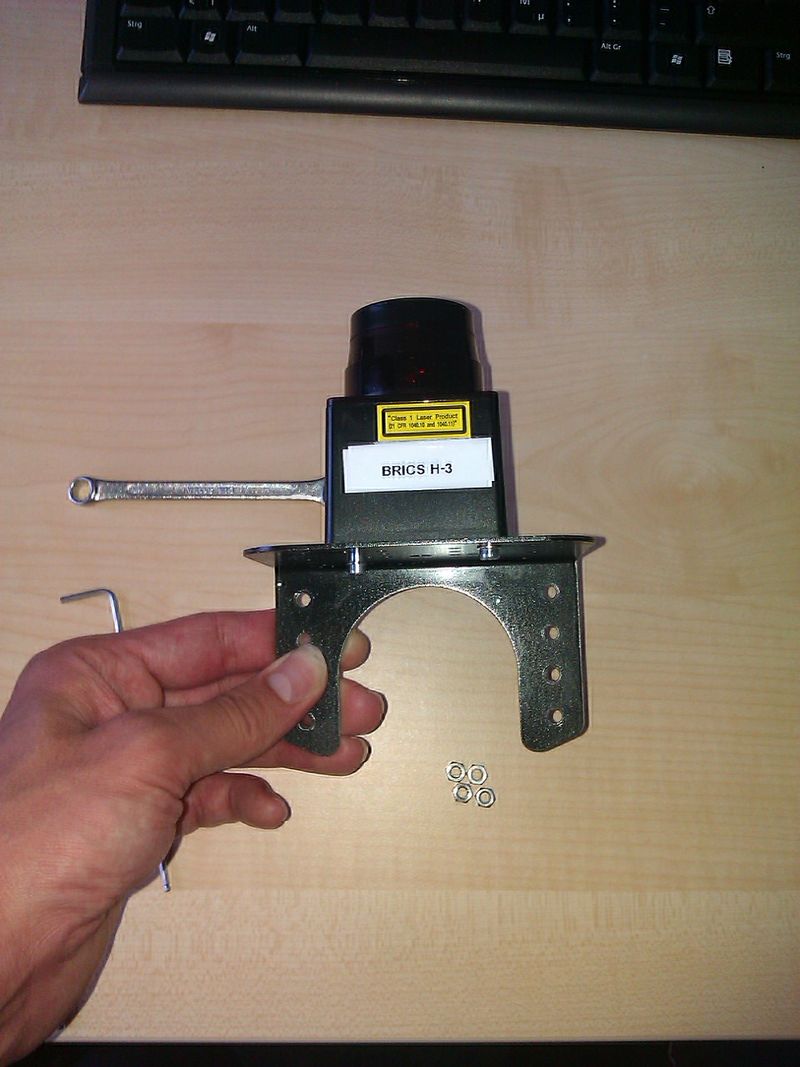
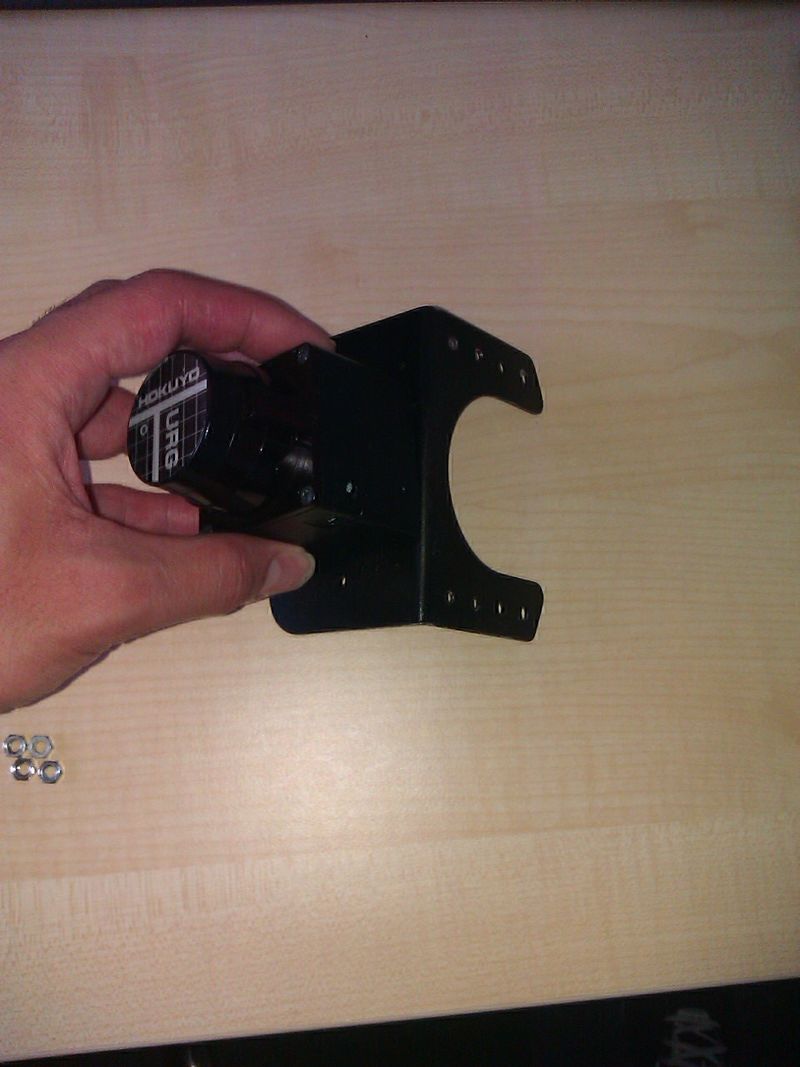
Before mounting the sensor carrier on the arm, you have to mount the sensor first.
After that you should dismount the default gripper as described here.
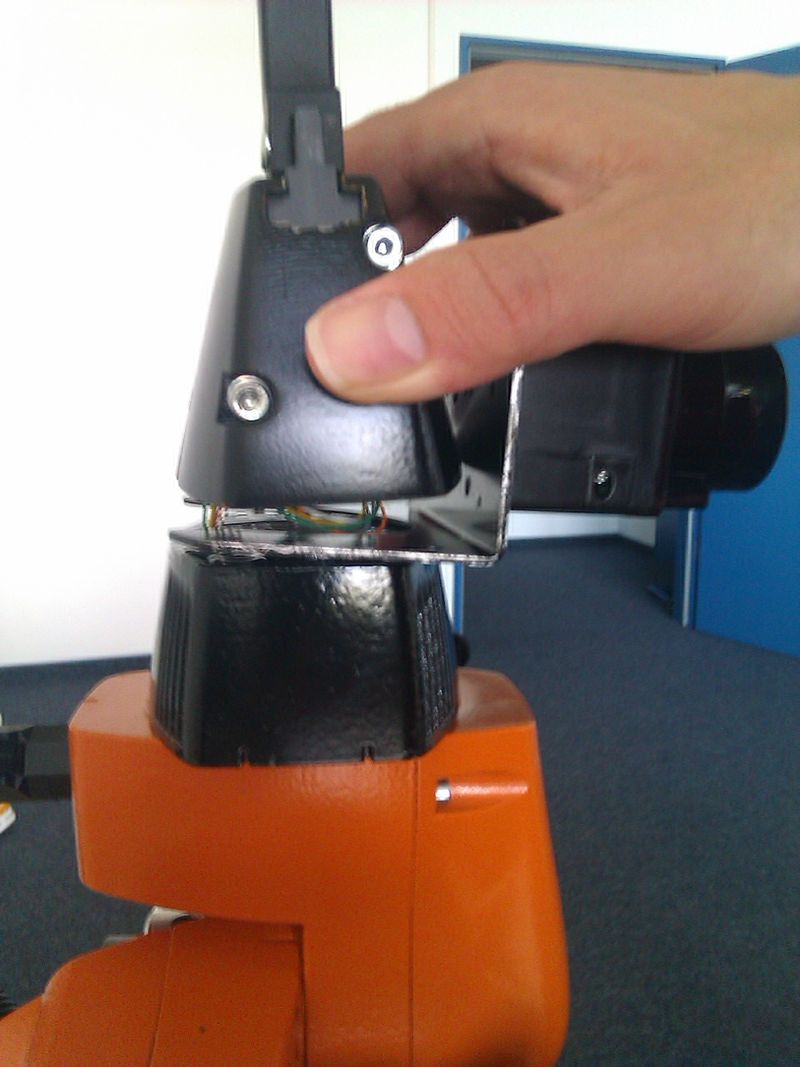
Mount the sensor carrier between the gripper and the flange. You should also take care of the cables.
Put the gripper back and bolt the screws. You should not tighten the screws, before all of them t into
their thread. First bolt the head of each screw, so that you are able to move the gripper, but it can not
fall down.
Note 1: If you have the new universal sensor carrier, which is thicker (3mm) you need to replace the existing screws with 4 x M4 Length 35 mm, otherwise you won't be able to put the gripper back in place.
Note 2: It is easier to mount the gripper, if you bolt the rest two screws on different sides.
Mounting on the platform
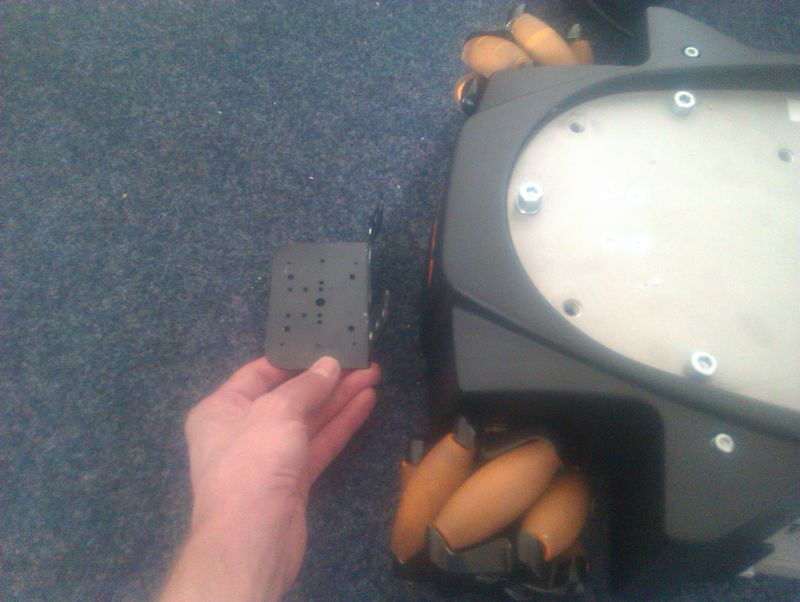
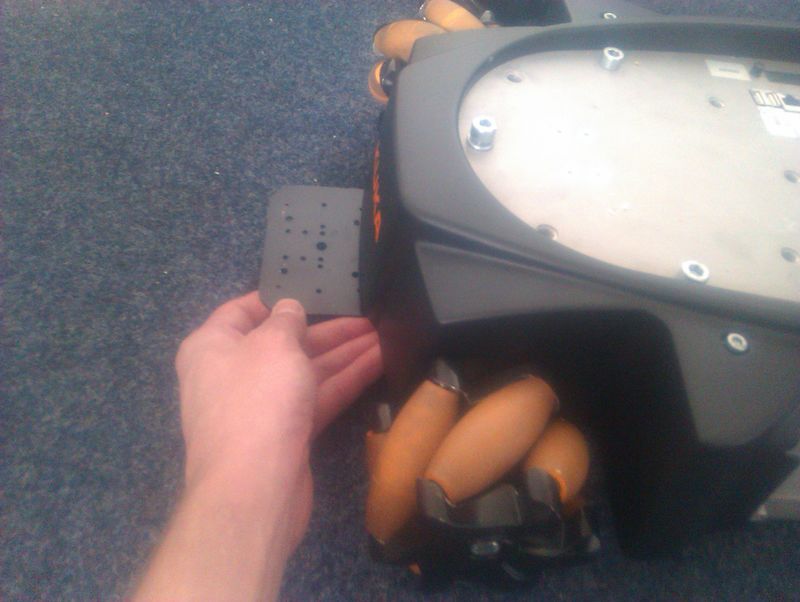
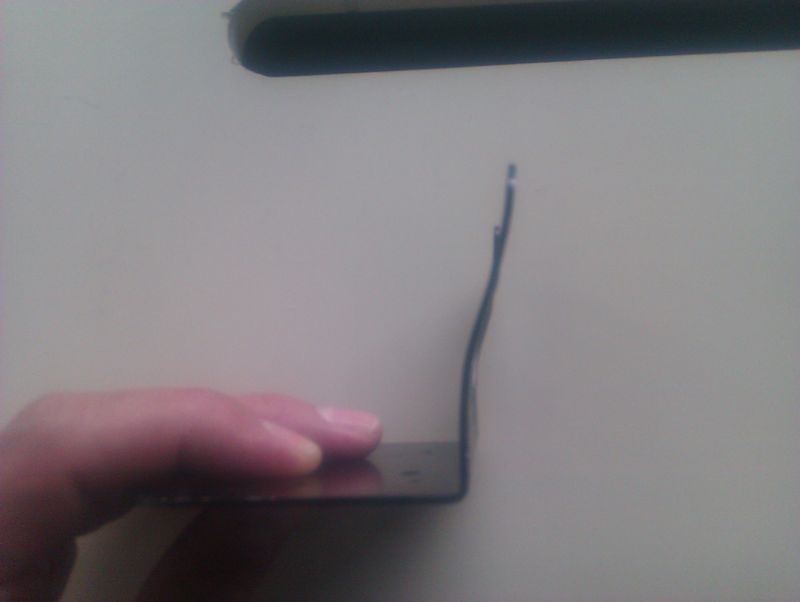
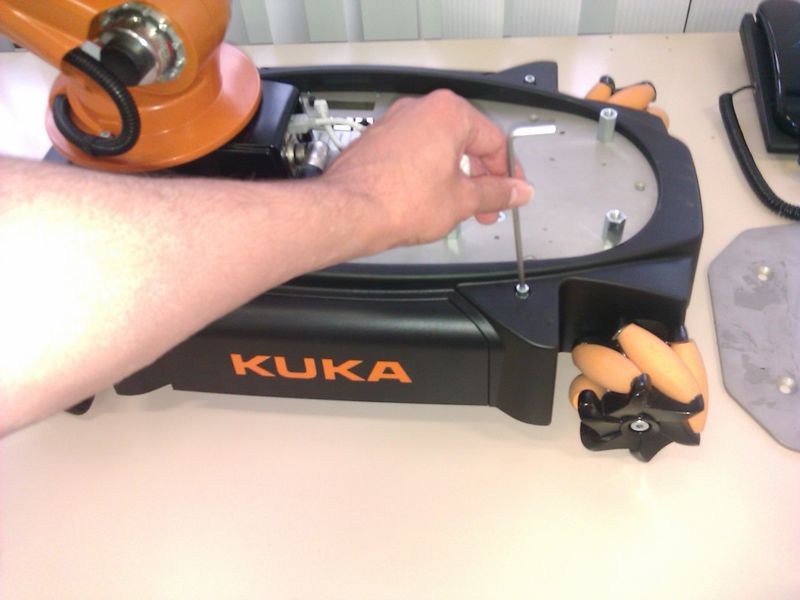
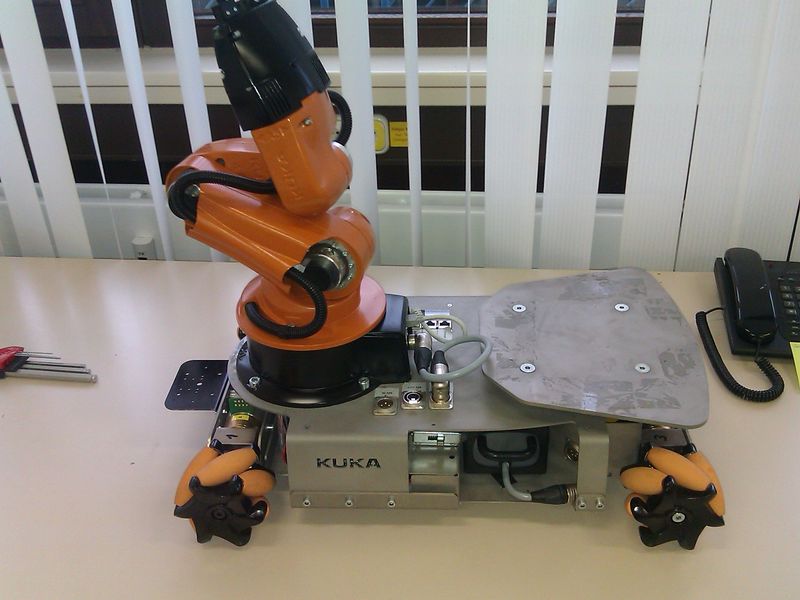
For mounting the carrier on the platform follow these steps. Note: If you want to use the black plastic cover (recommended), you have to mount the carrier in a reversed way and you have to bend the sides outwards. See following pictures. Except that the mounting procedure is the same as described below.
Before you start, you need the following components :
- the sensor carrier
- two screws, two nuts and tools (not part of our shipping)
First unmount the tray. There are four screws, which you have to remove. Than unbolt the four screws of the black plastic cover and lift it up.
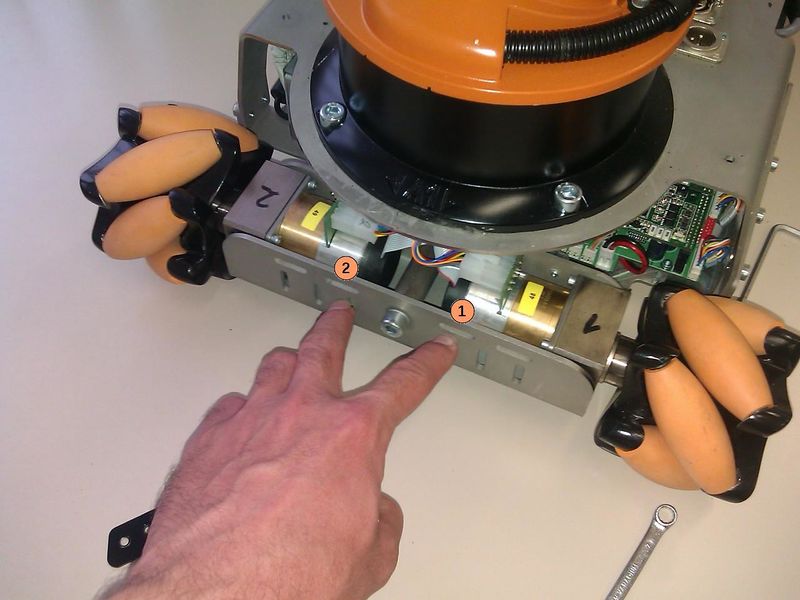
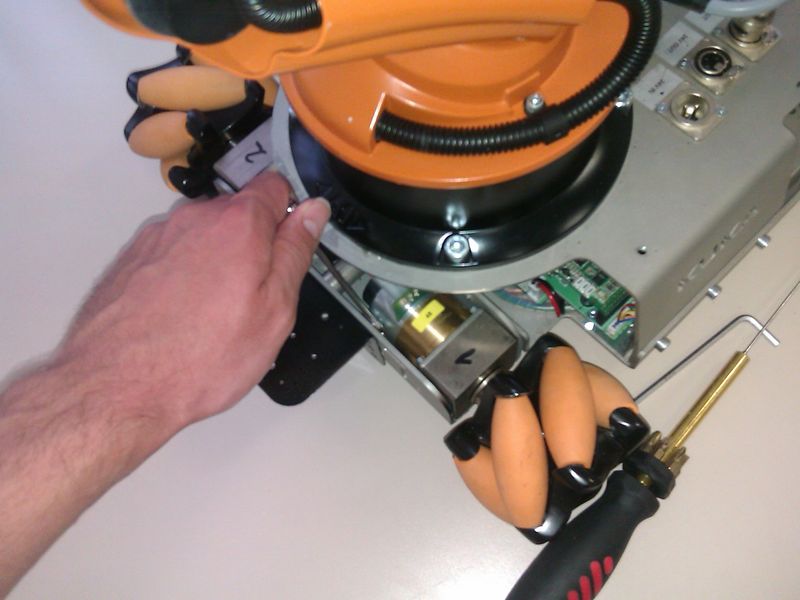
Now you can see the horizontal slots, where you can mount the sensor carrier. These are the number 1 and 2 on the picture.
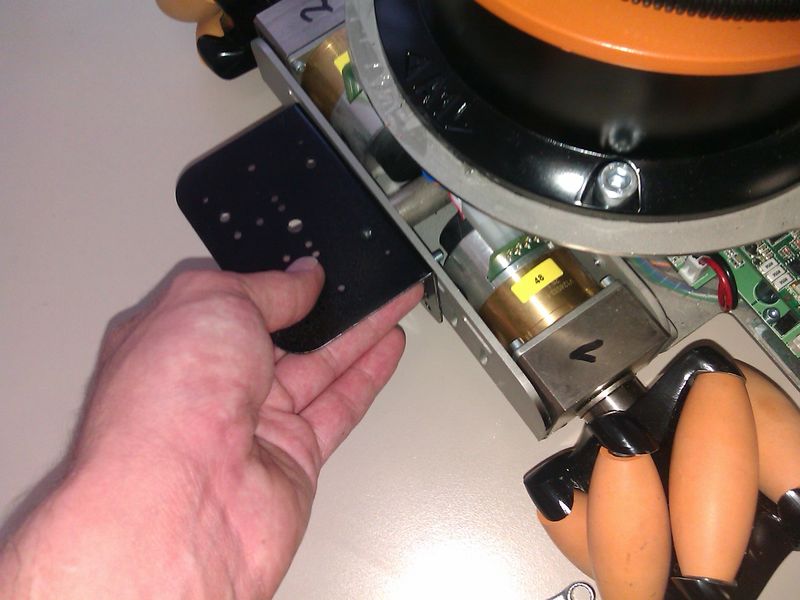
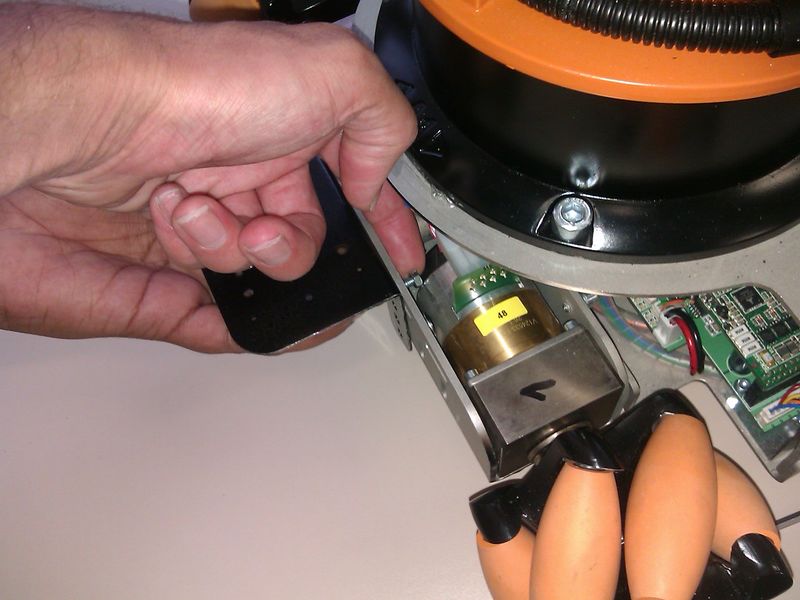
Take a screw which is about 8 mm long. It should be slim enough to fit into the holes of the sensor carrier and the slot. Place the carrier with one screw at slot #1, so that you can easily mount the corresponding nut. But do not tighten the nut yet.
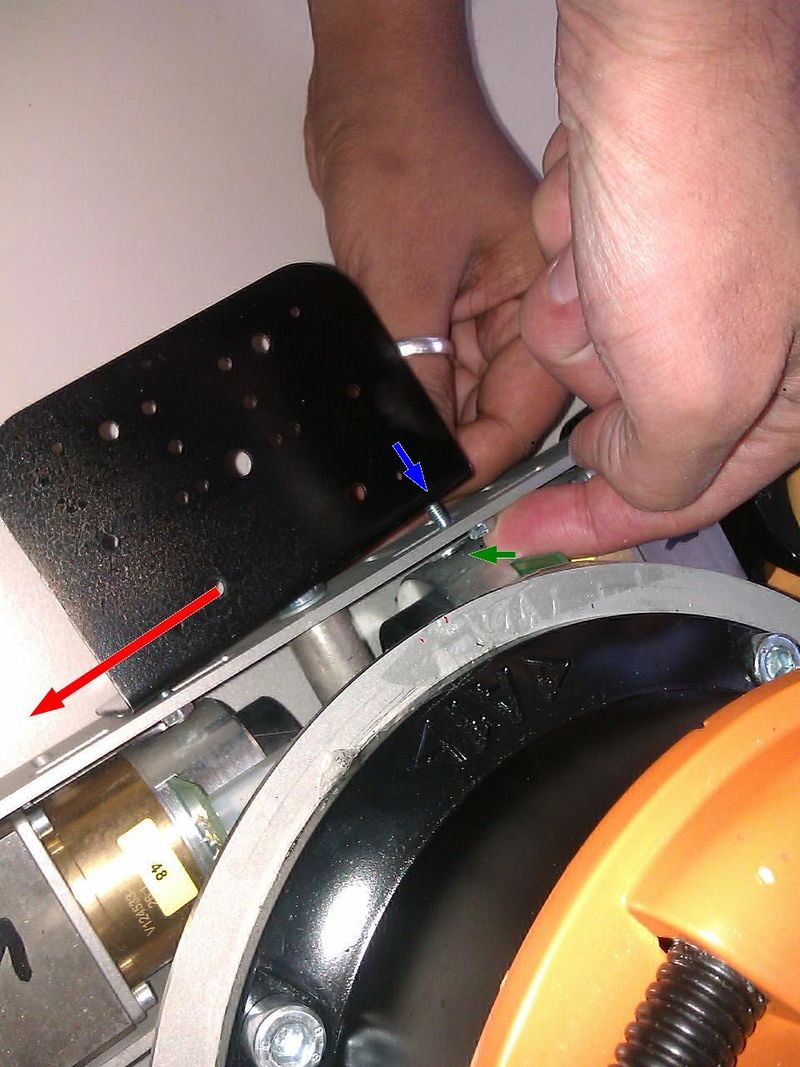
Shift the carrier as far as possible to the outside (red arrow), until the opposite hole of the sensor carrier overlaps with slot #2. Now place a nut over the slot (green arrow), so that you are able to bolt the second screw together (blue arrow).
Tighten the screws and mount the tray. Note: If you have mounted the carrier in a reversed way, you should mount the black plastic cover before the tray. After that the base is ready for mounting any sensor of your choice, which fits with the sensor carrier.
Corrections, suggestions, and new documentation should be posted to the Forum.
